This cookie is a fun activity to do with your children this Christmas season. It’s very interactive and at the end of your activity you have a yummy dessert! When using our Chocolate Thumbprint Cookies Recipe make sure to read each step and look at the pictures for help. Remember that there is a 15 minute refrigeration process for this cookie, so keep that in mind before you start baking.
When we asked Santa what his favorite cookie was he said those that are made with love. We can’t think of a cookie made with more love than those you share with your family.
Total Time
25 minutes prep time + 10-12 minutes cooking time
Ingredients
- Butter – 1\2 cup (120 gr\4 oz)
- Sugar – 1\4 cup (60 gr\2 oz)
- Eggs – 1 pieces
- Vanilla Extract
- Pinch of salt
- Flour – 1 cup (120 gr\4 oz)
- Chopped nuts – 3\4 cup (120 gr\4 oz)
- Chocolate – 1\2 cup (100 gr\3 oz)
Directions – Chocolate Thumbprint Cookies Recipe
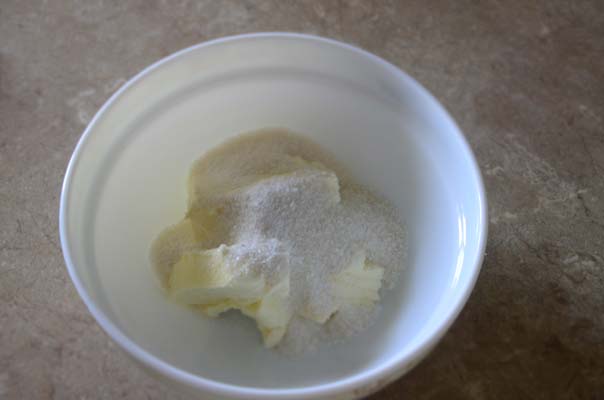
- 1. Mix soft butter with sugar and vanilla extract, keep the butter out of the fridge for 15 minutes to soften if needed.

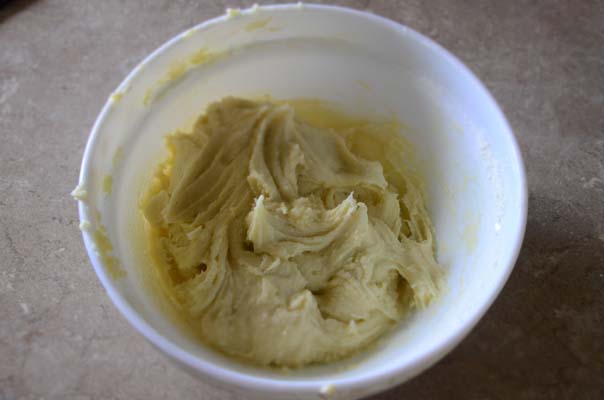
- 2. Add egg to the mixture and mix.

- 3. Add flour and salt. Keep mixing until smooth, using a mixture will help save time.
- 4. Roll dough into 1” balls or use an ice cream scooper to achieve this. Roll the balls in chopped nuts to ensure an even layer.
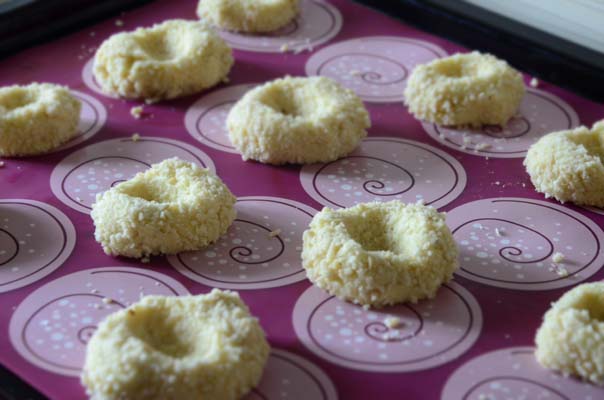
- 5. Put the cookies on a baking sheet with baking paper. Press your thumb gently in the center of each cookie ball to prepare for the chocolate.
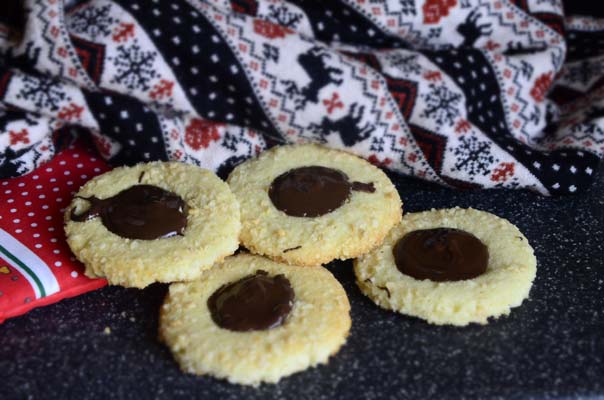
- 6. Place the cookie sheet into the oven for 10-12 at 350 degree F/180 degrees C. Once the cookies are done, cool the cookies and fill the thumbprint with melted chocolate. Enjoy your cookies and remember to share with your friends this Christmas season.